Collect Data with React Native on iOS
This guide will show you how to collect data in a React Native application on iOS without touching the data.
Key concepts in this guide:
Getting Started
To get started, you will need a Basis Theory account.
Next you will need a Public Application in order to use iOS Elements for your app.
Click here to create a Public Application or login to your Basis Theory account and create a new application with the following settings:
- Name - Collect Data from iOS Guide
- Application Type - Public
- Permissions -
token:create
Setup the Project
We will create a new React Native application by following the instructions outlined on React Native's environment setup page. Ensure you have the following tabs selected before starting:
- "React Native CLI Quickstart" near the top of the page
- "macOS" selected as the Development OS
- "iOS" selected as the Target OS
Follow each step on this page down to "Start your application" to ensure your environment is set up correctly.
Install the iOS Elements SDK
We will need to install Basis Theory's iOS Elements SDK, which will render a secure text field for capturing the data.
Open your new React Native project in Xcode by opening AwesomeProject.xcworkspace in your project under the ios directory.
With the Xcode window in focus, select File > Add Packages. In the dialog that appears, enter "https://github.com/Basis-Theory/ios-elements" in the search field on the top right, then select "AwesomeProject" for Add to Project, and click Add Package on this screen and the next prompts.
Setup Native Module and Bridging Header
Now we'll add a TextElementUITextField iOS component to our app. To do this we'll add an iOS Native Module and set up our text field element in Swift. We'll start by adding custom native module files.
Add a new Objective-C file called SsnTextElement.m under the "AwesomeProject" project in the "AwesomeProject" directory. We will add methods to export the SsnTextElement component and the tokenize method we'll create later to initialize our TextElementUITextField
and tokenize its values, respectively.
#import <Foundation/Foundation.h>
#import "React/RCTBridgeModule.h"
#import "React/RCTViewManager.h"

@interface RCT_EXTERN_MODULE(SsnTextElement, RCTViewManager)

RCT_EXTERN_METHOD(
                  tokenize: (RCTPromiseResolveBlock) resolve
                  rejecter: (RCTPromiseRejectBlock) reject
                  )
@end
Add a new Swift file through Xcode called SsnTextElement.swift under the "AwesomeProject" project in the "AwesomeProject" directory. After going through the prompts for adding your new SsnTextElement.swift file, opt into creating a bridging header for your project.
We will need this bridging header in a bit.
Let's import our necessary packages into SsnTextElement.swift.
import Foundation
import UIKit
import BasisTheoryElements
BasisTheoryElements isn't compatible with the minimum iOS deployment set up for the project. In that case, in the Project Navigator tab in Xcode click on the "AwesomeProject" project and under the "AwesomeProject" target, select "14.0" for the Minimum Deployment.Now we need to make RCTViewManager available to be used in Swift. Let's go back to the bridging header created earlier and add an import for the RCTViewManager header.
//
//  Use this file to import your target's public headers that you would like to expose to Swift.
//
#import "React/RCTViewManager.h"
Add Your Form Component on iOS
Next we'll initiate, configure a mask, and style our TextElementUITextField, and add a method for tokenizing its input.
Note that in the tokenizing function, we make use of the resolve and rejector params. These are used to communicate the results of the tokenize function back to our Javascript.
import Foundation
import UIKit
import BasisTheoryElements

@objc(SsnElement) class SsnElement: RCTViewManager {
  let ssnTextElement = TextElementUITextField()

  override func view() -> UIView! {
    let regexDigit = try! NSRegularExpression(pattern: "\\d")
    let ssnMask: [Any] = [
      regexDigit,
      regexDigit,
      regexDigit,
      "-",
      regexDigit,
      regexDigit,
      "-",
      regexDigit,
      regexDigit,
      regexDigit,
      regexDigit,
    ]

    try! ssnTextElement.setConfig(options: TextElementOptions(mask: ssnMask))

    ssnTextElement.layer.cornerRadius = 16.0
    ssnTextElement.layer.borderWidth = 1.0
    ssnTextElement.layer.borderColor = UIColor( red: 209/255, green: 209/255, blue: 214/255, alpha: 1.0 ).cgColor
    ssnTextElement.layer.masksToBounds = true
    ssnTextElement.backgroundColor = .white
    ssnTextElement.placeholder = "Enter SSN"
    ssnTextElement.leftView = UIView(frame: CGRect(x: 0, y: 0, width: 20, height: 20))
    ssnTextElement.leftViewMode = .always

    return ssnTextElement
  }

  @objc public func tokenize(
    _ resolve: @escaping RCTPromiseResolveBlock,
    rejecter reject: RCTPromiseRejectBlock
  ) -> Void {
    let body = CreateToken(type: "token", data: [
      "ssn": self.ssnTextElement,
    ])

    BasisTheoryElements.createToken(body: body, apiKey: "<API_KEY>") {
      data, error in
      guard error == nil else {
        resolve(error!.localizedDescription)
        return
      }

      let encoder = JSONEncoder()
      let json = try! encoder.encode(data)
      resolve(String(data: json, encoding: .utf8)!)
    }
  }

}
<API_KEY> with the Public API Key you created in the Getting Started step.All that's left is to let React Native know that we need to setup our SsnTextElement on the main queue.
import Foundation
import UIKit
import BasisTheoryElements

@objc(SsnTextElement) class SsnTextElement: RCTViewManager {
  ...

  @objc static override func requiresMainQueueSetup() -> Bool { return true }
}
Add Your Form Component in Javascript
First, in App.tsx set up the view to display the secure text field.
/**
 * Sample React Native App
 * https://github.com/facebook/react-native
 *
 * @format
 */

import React from 'react';
import {SafeAreaView, StatusBar, StyleSheet, View} from 'react-native';

function App(): JSX.Element {
  return (
    <SafeAreaView style={styles.view}>
      <StatusBar />
      <View style={styles.container} />
    </SafeAreaView>
  );
}

const styles = StyleSheet.create({
  view: {
    backgroundColor: '#f2f2f8',
  },
  container: {
    paddingHorizontal: 25,
    paddingTop: 75,
    height: '100%',
    display: 'flex',
    flexDirection: 'column',
    alignItems: 'flex-start',
    justifyContent: 'flex-start',
  },
});

export default App;
To add our ssnTextElement in Javascript, we'll make use of the requireNativeComponent function to get the element we created in Swift earlier.
/**
 * Sample React Native App
 * https://github.com/facebook/react-native
 *
 * @format
 */

import React from 'react';
import {
  HostComponent,
  requireNativeComponent,
  SafeAreaView,
  StatusBar,
  StyleSheet,
  View,
} from 'react-native';

interface SsnTextElementProps {
  style: Record<string, unknown>;
}

const SsnTextElement: HostComponent<SsnTextElementProps> =
  requireNativeComponent('SsnTextElement');


function App(): JSX.Element {
  return (
    <SafeAreaView style={styles.view}>
      <StatusBar />
      <View style={styles.container}>
        <SsnTextElement style={styles.ssnTextElement} />
      </View>
    </SafeAreaView>
  );
}

const styles = StyleSheet.create({
  view: {
    backgroundColor: '#f2f2f8',
  },
  container: {
    paddingHorizontal: 25,
    paddingTop: 75,
    height: '100%',
    display: 'flex',
    flexDirection: 'column',
    alignItems: 'flex-start',
    justifyContent: 'flex-start',
  },
  ssnTextElement: {
    height: 50,
    width: '100%',
    marginBottom: 20,
  },
});

export default App;
Lastly, we'll add a button to trigger our tokenize method and a text view to view our tokenize response.
/**
 * Sample React Native App
 * https://github.com/facebook/react-native
 *
 * @format
 */

import React, {useState} from 'react';
import {
  HostComponent,
  NativeModules,
  Pressable,
  requireNativeComponent,
  SafeAreaView,
  StatusBar,
  StyleSheet,
  Text,
  View,
} from 'react-native';

interface SsnTextElementProps {
  style: Record<string, unknown>;
}

const SsnTextElement: HostComponent<SsnTextElementProps> =
  requireNativeComponent('SsnTextElement');

const {SsnTextElement: SsnTextElementModule} = NativeModules;

const tokenize = () => SsnTextElementModule.tokenize() as Promise<string>;

function App(): JSX.Element {
  const [response, setResponse] = useState<string>();

  return (
    <SafeAreaView style={styles.view}>
      <StatusBar />
      <View style={styles.container}>
        <SsnTextElement style={styles.ssnTextElement} />
        <Pressable
          style={styles.tokenize}
          onPress={async () => {
            setResponse(await tokenize());
          }}>
          <Text style={styles.tokenizeText}>{'Tokenize'}</Text>
        </Pressable>
        <Text style={styles.tokenText}>{response}</Text>
      </View>
    </SafeAreaView>
  );
}

const styles = StyleSheet.create({
  view: {
    backgroundColor: '#f2f2f8',
  },
  container: {
    paddingHorizontal: 25,
    paddingTop: 75,
    height: '100%',
    display: 'flex',
    flexDirection: 'column',
    alignItems: 'flex-start',
    justifyContent: 'flex-start',
  },
  ssnTextElement: {
    height: 50,
    width: '100%',
    marginBottom: 20,
  },
  tokenize: {
    display: 'flex',
    width: 125,
    height: 50,
    border: 'none',
    backgroundColor: '#007aff',
    textAlign: 'center',
    alignItems: 'center',
    justifyContent: 'center',
    borderRadius: 16,
  },
  tokenizeText: {
    fontSize: 18,
    fontWeight: 'bold',
    color: 'white',
  },
  tokenText: {
    marginTop: 25,
  },
});

export default App;
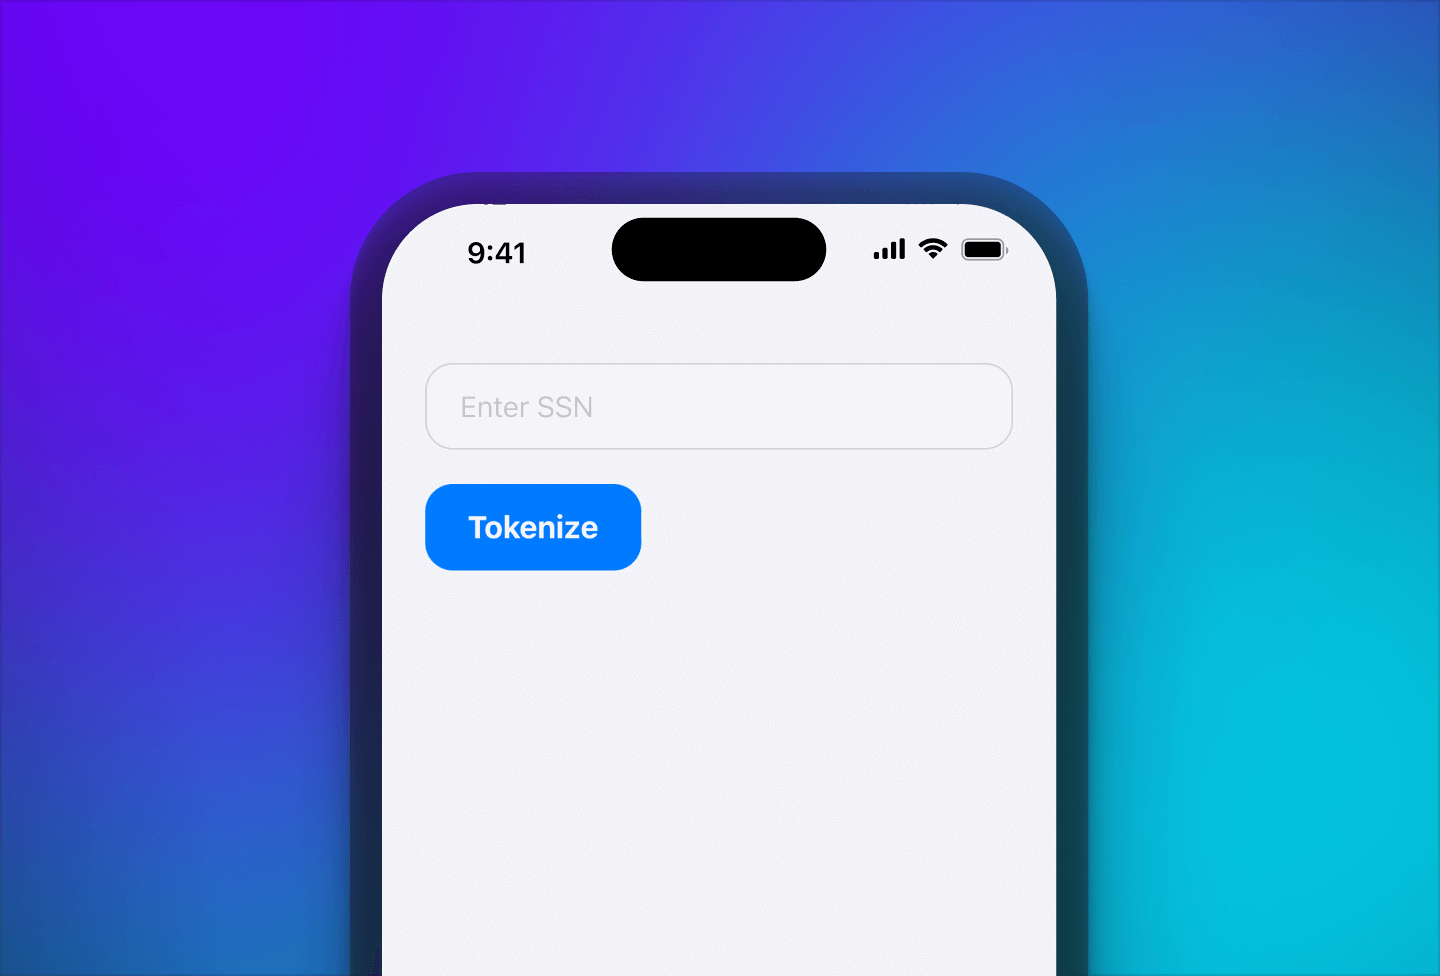
🎉 The code above is the last bit that we need to tokenize! Now let's run the app by running npx react-native run-ios in your project. The screen should look something like this:
Conclusion
You can now capture any text data without your React Native app accessing the underlying value drastically reducing compliance and regulatory scope.
To test, type in a social security number in the ssnTextElement and tap on Tokenize. Basis Theory's iOS SDK securely submits the data directly to the Create Token Endpoint. The resulting token is printed to the app.